When my first child was born, I had a beautiful diaper changing setup in the nursery. A wooden changing table with a quilted pad, matching baskets for diapers and wipes, a tiny garbage can with a foot pedal, and a stack of neatly folded receiving blankets. It was perfect. It was also completely useless.
Within three days of bringing my daughter home, I realized something the baby registry never told me: I was not changing diapers in the nursery. I was changing them on the living room floor, on the couch, on the bed, and once — memorably — on the trunk of my car in a Target parking lot. The beautiful changing table sat untouched while I made twenty trips a day up and down the hall, fetching diapers and wipes from the nursery and carrying them back to wherever the baby actually was.
That's when I learned the first rule of diapering with a newborn: the best diaper station is the one that's already where you are. Everything else is just a very expensive shelf.
Why Most Diaper Stations Fail
They're in the Wrong Room
The most common mistake I see is putting the diaper station in the nursery and assuming that's where diaper changes will happen. But the nursery is rarely where the baby spends most of their time — especially in the first few months when you're camping out in the living room or the bedroom, feeding around the clock and too exhausted to move.
Every step between you and a clean diaper is a step you take while holding a crying, wiggling baby. If the diapers are in the nursery and you're in the living room, that's a lot of steps. Now multiply that by ten diaper changes a day. The math is brutal.
They Require Too Much Bending
Even when the diaper station is in the right room, it often fails because it's set up too low or too awkwardly. A changing pad placed on a low surface means you're bending over multiple times a day, which is terrible for a postpartum body that's already recovering. A station that requires you to dig through a deep drawer for a specific size of diaper adds frustration to an already tedious task.
They're Too Complicated
Some diaper stations look like they belong in a hospital supply room: separate containers for different sizes, multiple cream options, a wipe warmer, a diaper pail with a special liner system, a mobile for the baby to look at. The more pieces there are, the more there is to maintain, refill, and clean. When you're exhausted, complicated systems don't help — they quietly fall apart.
The Simple Setup That Actually Works
The diaper station that finally saved me steps wasn't fancy. It was built around three principles: keep it close, keep it simple, and keep it stocked. Here's what that looked like in my home, and what I recommended to the families I worked with.
One Main Station in the Room You Actually Live In
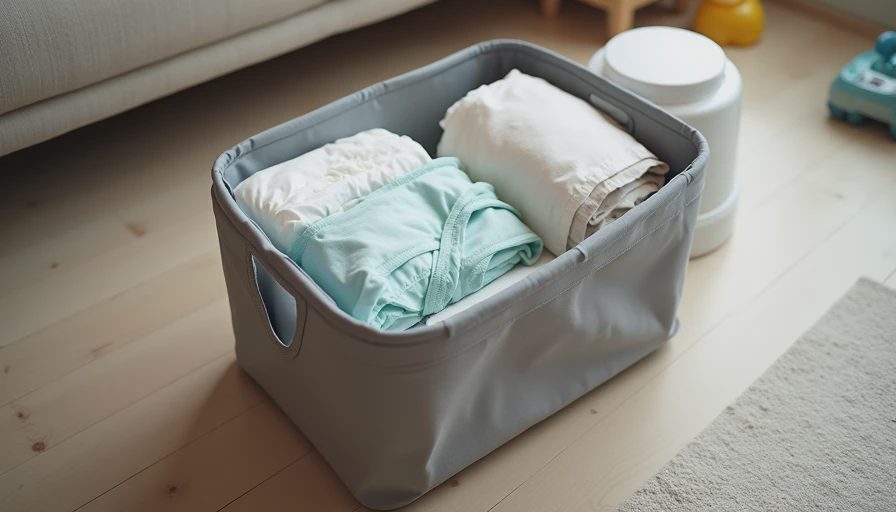
For most families, the main diaper station should be in the living room or the primary bedroom — whichever room you spend the most time in during the day. For us, that was the living room. I put a small changing pad on the floor next to the couch, with a diaper caddy right beside it. No changing table, no fancy drawers. Just a pad and a basket.
The changing pad doesn't need to be an expensive contoured one. A flat waterproof pad or even a folded receiving blanket over a waterproof liner works fine. The point is that when the baby needs a change, you don't have to leave the room. You just turn, grab the caddy, and change the diaper right there.
A Caddy, Not a Station
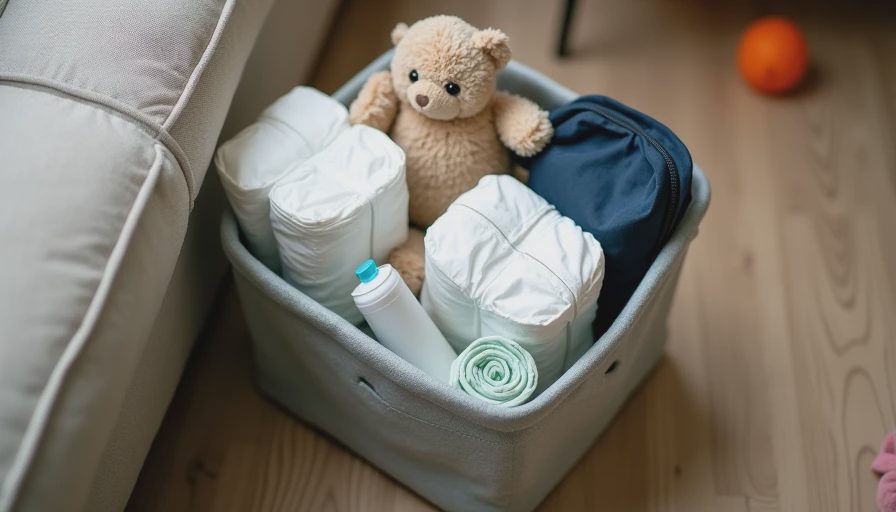
The word "station" makes it sound like you need furniture. You don't. What you need is a diaper caddy — a simple basket or tote that holds everything you need for a diaper change. A caddy works because it's portable. You can move it from room to room as your day shifts, and you can hand it to your partner or your older child without explaining where everything is.
Here's what goes in the caddy:
Diapers: At least ten, because running out mid-change is a special kind of misery.
Wipes: One full pack, not the last ten wipes from an open pack.
Diaper cream: One tube, whatever brand works for your baby. You don't need three options.
A spare onesie: Because blowouts happen, and they always happen when you're not near the closet.
A small wet bag or plastic bag: For containing dirty clothes or diapers until you can get to the trash.
A burp cloth or small towel: For surprise messes that go beyond the diaper area.
That's it. Six items. Everything else is optional.
A Secondary Station for the Bedroom
If you're doing night feeds and night changes in the bedroom, keep a smaller diaper caddy there too. This one can be more minimal: a few diapers, a travel pack of wipes, a changing pad, and a spare onesie. The goal is to avoid getting out of bed more than absolutely necessary for a 2 a.m. diaper change.
I used to tell my clients: "At 2 a.m., you don't need a full diaper station. You need diapers, wipes, and a pad within arm's reach." The less you have to get up and move around at night, the faster you can get back to sleep — and the more sleep you get overall.
The Small Details That Make a Big Difference
Keep the Caddy Visible
A diaper caddy that's hidden in a cabinet or behind the couch is a diaper caddy that might as well not exist. Keep it visible and accessible. It should be something you can see from wherever you usually sit or lie down with the baby. If it's in your line of sight, you're more likely to remember to restock it — and less likely to find yourself stranded with a naked baby and an empty caddy.
Restock on a Schedule, Not When It's Empty
The worst time to discover you're out of diapers is mid-change. So don't wait until the caddy is empty to restock it. Pick a time — evening works well, as part of your reset routine — and check the caddy every night. Top off the diapers, check the wipes, and make sure the spare onesie is still there. Two minutes of restocking saves you from a chaotic scramble later.
Use the "One in Use, One on Deck" Rule
For anything you use regularly — diapers, wipes, cream — keep a backup within easy reach. When you open the backup, add it to your mental list to buy another. This sounds obvious, but it's easy to forget when you're exhausted. The rule is simple: if you open a package, replace it soon. It prevents the 11 p.m. discovery that you have exactly two diapers left and no car to get to the store.
Make the Trash Part of the Station
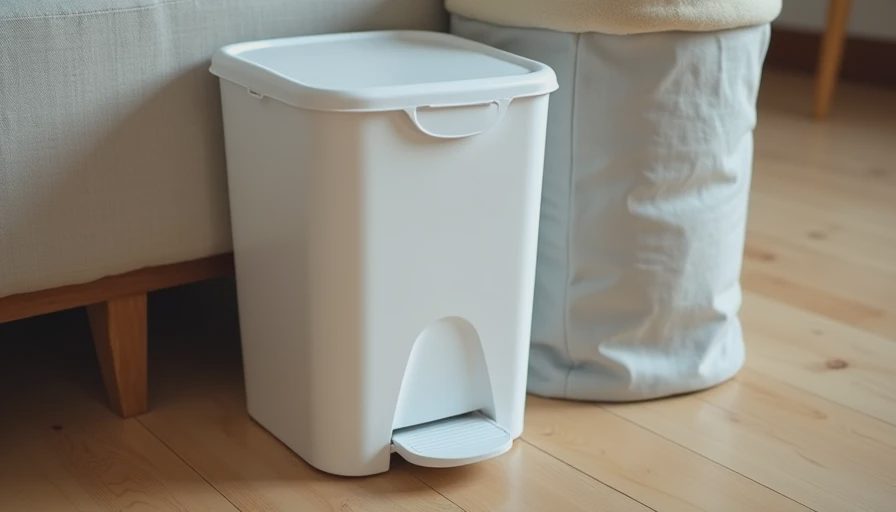
If you're changing diapers in the living room, you need a place to put the dirty ones. A small lidded trash can with a foot pedal works well, or even a simple step can with a lid. The key is that it's right there — not in the kitchen, not in the bathroom, but within arm's reach of the changing pad. If the trash is too far away, you'll end up with a pile of dirty diapers accumulating next to the caddy, which is not a system; it's a landfill.
Put a Diaper Station in the Car
One of the most useful things I ever did was keep a small diaper kit in the car at all times. A canvas tote with five diapers, a pack of wipes, a changing pad, and a spare outfit. It lived under the passenger seat and saved me more times than I can count — the Target parking lot incident, the park bathroom with no changing table, the friend's house where the diaper bag turned out to be missing its last diaper.
The car kit doesn't need to be fancy. It just needs to exist and be restocked after every use. Think of it as insurance against the day you leave the house with a baby and no diapers — a day that will eventually happen to you, if it hasn't already.
What to Skip (And Where to Save Your Money)
Skip the Dedicated Changing Table
Unless you have back problems that make floor changing genuinely painful, you probably don't need a dedicated changing table. The floor, a bed, or a couch works fine, and a portable changing pad gives you the same function for a fraction of the cost. If you do have back pain, a dresser-top changing pad is a better use of money than a standalone table, because it doesn't take up extra floor space and the dresser will still be useful after diapering is over.
Skip the Wipe Warmer
I've said this in another post, but it bears repeating: wipe warmers are more trouble than they're worth. They dry out wipes, they need cleaning, and they create an expectation of warmth that will be shattered the first time you change a diaper in a cold bathroom. Your baby doesn't need warm wipes. They need a clean bottom and a parent who isn't maintaining an unnecessary appliance.
Skip the Fancy Diaper Pail
A diaper pail with special liners and a carbon filter can cost over fifty dollars, and then you're locked into buying their specific bag refills for the next two years. A simple lidded trash can works just as well for most families. If odor is a concern, wrap especially smelly diapers in a small bag before tossing them, and take the trash out daily. You'll save money and counter space.
Skip the Matching Caddy Set
You don't need a coordinated set of baskets for your diaper supplies. Any basket, tote, or even a shoebox works. The goal is function, not aesthetics. Save your money for the things that actually make diapering easier — like a good changing pad that wipes clean and a travel changing kit for the car.
A Real Look at My Setup
Right now, in my living room, there's a gray fabric caddy on the floor next to the couch. Inside it are about a dozen diapers, one pack of wipes, a tube of cream, one spare onesie, a small wet bag, and a burp cloth. Next to the caddy is a flat changing pad and a small lidded trash can. That's the whole system.
In my bedroom, there's a smaller caddy with five diapers, a travel pack of wipes, and a changing pad on the nightstand. In the car, there's a canvas tote under the seat with the emergency kit. Three stations. No changing table. No wipe warmer. No coordinated baskets.
This setup has saved me hundreds of steps and countless moments of frustration. It's not beautiful. It's not Instagram-worthy. But it works, and it works at 3 a.m. when the baby has a blowout and I can't find the light switch and I need everything within arm's reach.
That's the whole point. You do not need a perfect system. You need one that works when you're tired, when the baby is crying, and when the last thing you want to do is walk down the hall to the nursery for a clean diaper.
Start with the part that makes tonight easier. Then build from there.

No notes yet — write the first one.